How to Connect Claude to Workspace369
How to connect Claude to Workspace369. In Workspace369, open Settings, then AI connections: once a workspace admin has switched on Allow AI connections, copy the server URL. In Claude, open Connectors, choose Add, then Add custom connector, name it Workspace369, paste the URL and add it. Click Connect, sign in to Workspace369, choose the workspace and approve access. Then ask in your own words, like who to follow up with this week: Claude asks before it uses Workspace369, then answers from your own clients. Ask it to draft an invoice, and the draft is created in your workspace. Ask it to send it, and it waits in Approvals until you approve and send it, or decline.
What you'll learn
- Where to find AI connections in Workspace369 Settings, and the Allow AI connections switch a workspace admin turns on
- How to copy the Workspace369 server URL
- How to add Workspace369 as a custom connector in Claude: Connectors, Add, then Add custom connector
- How to connect it: sign in to Workspace369, choose the workspace and approve access
- How to ask Claude about your clients and have it draft an invoice in your workspace
- Why a send doesn't go out on its own: it waits in Approvals until you approve and send it, or decline
Common questions
How do I connect Claude to Workspace369?
In Workspace369, open Settings, then AI connections, and copy the server URL. In Claude, open Connectors, choose Add, then Add custom connector, name it Workspace369, paste the URL and add it. Click Connect, sign in to Workspace369, choose the workspace and approve access.#
Who turns on AI connections?
AI connections are off by default. A workspace admin turns on Allow AI connections in Settings, AI connections. After that, members can connect their AI apps to the workspace.#
Can Claude send an invoice or an email on its own?
No. Reads and drafts happen right away, but an invoice, proposal, contract, email or text that a connected AI app wants to send waits in Approvals until you approve and send it, or decline. The only exception is a connection where the person who connected it turned on Send without asking.#
What can I ask Claude once it's connected?
Ask in your own words: who to follow up with this week, what a client owes, or to draft an invoice or a proposal. Claude asks before it uses Workspace369, then answers from your own clients, and drafts show up in your workspace like any other.#
Does it work with ChatGPT and other AI apps?
Yes. The same server URL works in ChatGPT and in any other app that supports MCP connectors over OAuth, and every connection gets its own permissions.#
Full transcript
Welcome back. In this video, we'll connect Claude to Workspace369, so you can work with your clients and invoices right from a chat.
In Workspace369, open Settings. Then open AI connections. Further down, a workspace admin has switched on Allow AI connections. Below it, copy the server URL.
Now, in Claude, open Connectors, choose Add, then Add custom connector. Name it Workspace369, paste the server URL, and add it. Then connect it.
Workspace369 asks you to sign in, choose the workspace, and pick what Claude may do. Approve it, and Claude is connected.
Now ask in your own words, like who to follow up with this week. Claude asks before it uses Workspace369. Then it answers from your own clients. Ask it to draft an invoice. The draft is created right in your workspace.
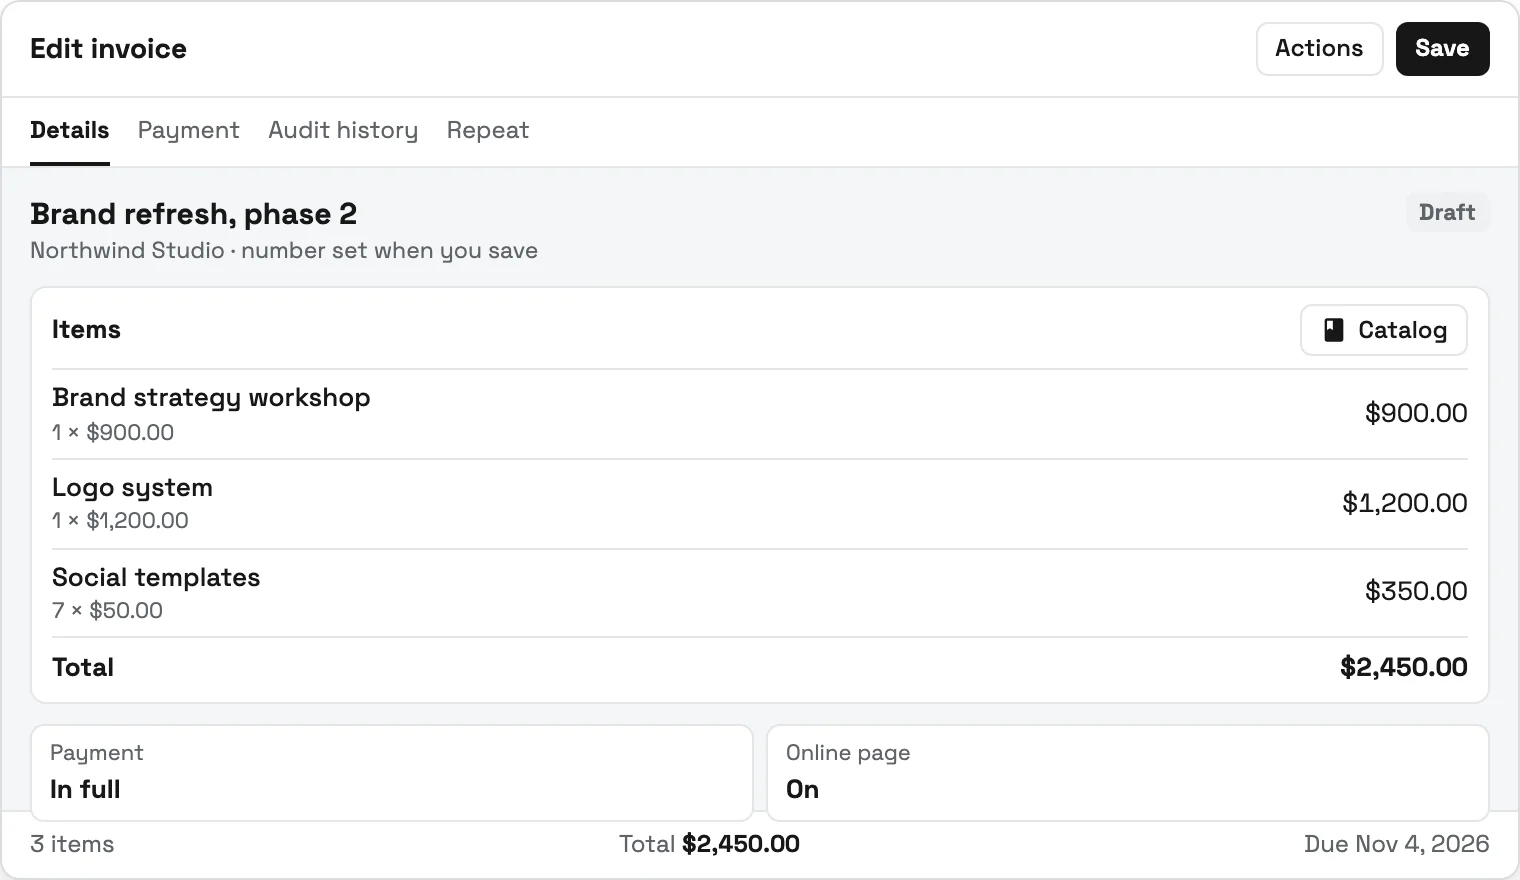
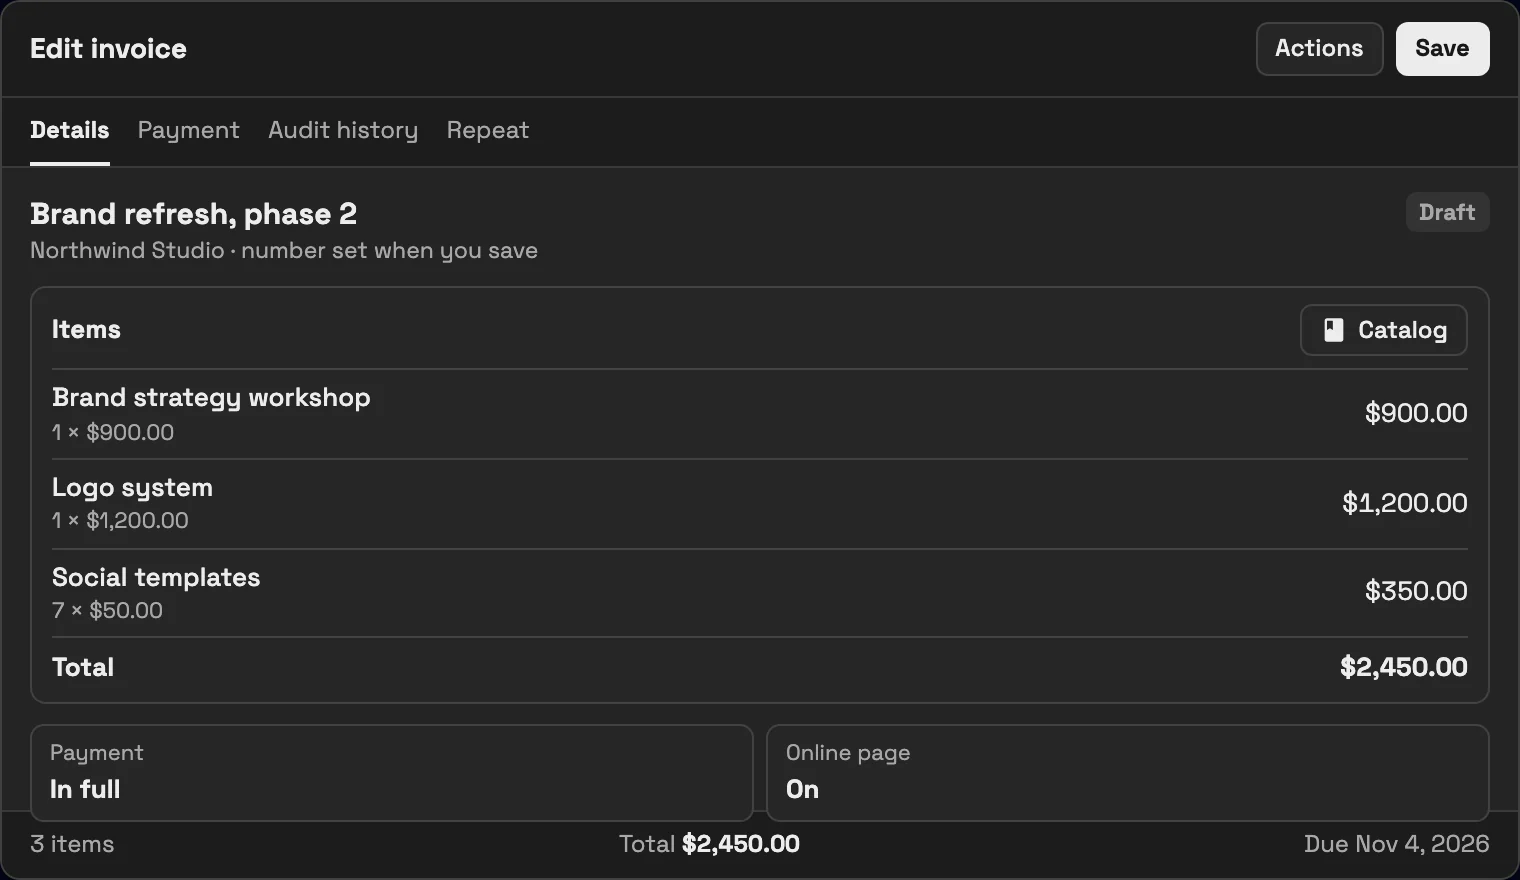
Here it is in Invoices, as a draft. Ask Claude to send it. Even then, it doesn't go out on its own. It waits here, in Approvals. Nothing goes out until you approve and send it, or decline. And that's Claude, connected to Workspace369. Thanks for watching.
See where Workspace369 fits into your client-work flow.
Start with the modules you need today, then turn on AI, automations, accounting, inventory, requests, and reporting as the operation grows.
14-day free trial. Card required. After the trial: from $29/month. Renews automatically every month until you cancel. Cancel anytime in Settings → Billing.