Video tutorial 6 of 6
How to Create and Send an Invoice in Workspace369, Step by Step
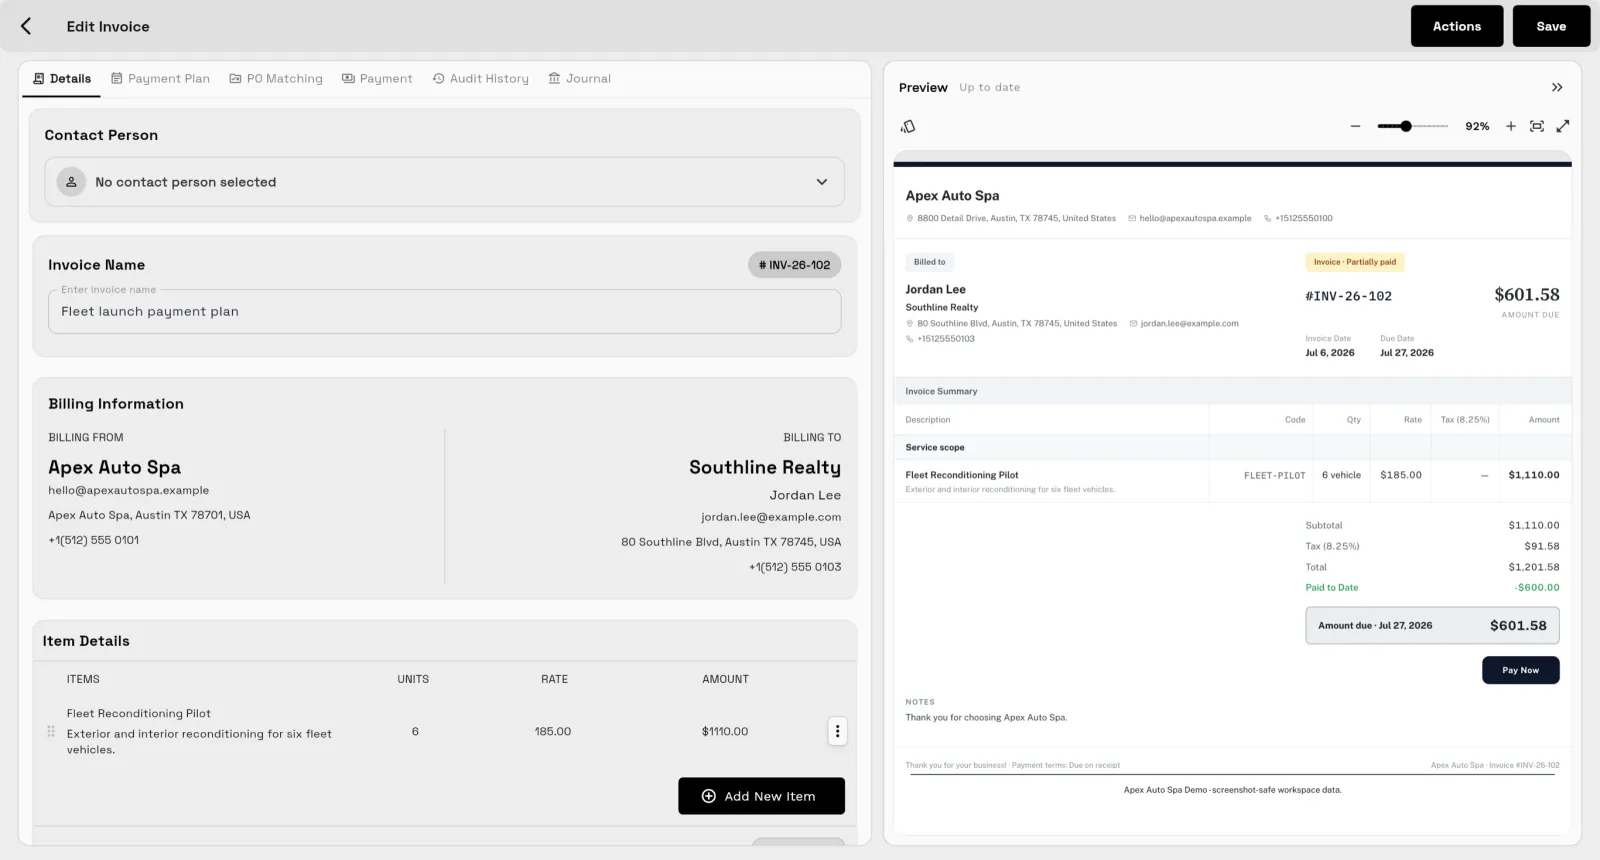
To create an invoice in Workspace369, open Invoices under Finance and click New Invoice. Name it, choose the client and add services from your catalog; your tax rate fills in from your settings and the due date follows your default terms. Open the Payment Plan tab to split the total into installments, or the Repeat tab to send a new invoice on a schedule. Click Send to send it by email or text. When a payment comes in another way, record it on the Payment tab, and the invoice shows as partial in your Invoices list, with the rest still due.
What you'll learn
- How to read invoice statuses: paid, draft, past due and partial
- How to build an invoice from your catalog, with your tax rate and due date filled in
- How to split an invoice into installments, and what the Repeat tab does
- How to send an invoice by email or text
- How to record a payment against an installment
- How to see what's still due, and download or print the PDF
FAQ
Common questions
Can I split an invoice into installments in Workspace369?
Yes. Open the invoice's Payment Plan tab and choose Installments. It splits the total into equal payments, three monthly payments by default, and you can change how many payments there are, how often they're due and when they start. The schedule shows each date and amount.
How do I record a payment that came in by bank transfer or cash?
Open the invoice's Payment tab. Each installment has its own Record Payment button. Choose how the client paid, add a reference number if you have one, and save the payment. In your Invoices list, the invoice then shows as partial, with the rest still due.
Can clients pay a Workspace369 invoice online?
Yes, if you've connected Stripe. Each installment has its own payment link, so your client can pay online by card.
Can I send an invoice by text message?
Yes. Click Send and choose to send it by email or text. The email is written for you, with the invoice PDF attached.
Can I set up a recurring invoice?
Yes. For clients you bill on a schedule, the invoice's Repeat tab sends a new invoice on each date, by itself.
Full transcript
Welcome back. In this video, we'll go deeper into invoices: build one from scratch, set its dates, split it into a payment plan, send it, and keep track of payments as they come in.
Open Invoices, under Finance. Each invoice shows where it stands: paid, draft, past due, or partial, with how much is still due. Click New Invoice.
Give it a name, and choose the client. This one is for Drew, at Walsh Logistics. Drew's email and phone number fill in, so the invoice can go out by email or text. Click Add New Item. Pick a service from your catalog, or switch to One-time, for a charge that's only on this invoice. Set the quantity to twelve, and add it. Your tax rate fills in from your settings, and the total updates as you go. Under Invoice Dates, the due date follows your default terms: thirty days from today. You can change either date here.
For a bigger job, open the Payment Plan tab, and choose Installments. It splits the total into three monthly payments. You can change how many payments there are, how often they're due, and when they start. The schedule shows each date and amount, so Drew knows exactly what's due, and when. And for clients you bill on a schedule, the Repeat tab sends a new invoice on each date, by itself.
When it's ready, click Send. You can send it by email or text. The email is written for you, with the PDF attached. Click Send Email, and it's on its way.
When a payment comes in another way, like a bank transfer, add it yourself. Open the Payment tab. Each installment has its own Record Payment button. And if you've connected Stripe, its own payment link, so Drew can pay online, by card. Choose how Drew paid, add the reference number, and save the payment.
Back in your Invoices list, it now shows as partial: the first payment is in, and the rest is still due. To download or print the PDF, open the menu next to an invoice, and choose Invoice PDF. And that's invoices in depth. In the next video, we'll set up automatic payment reminders.
More tutorials
Ready when you are
See where Workspace369 fits into your client-work flow.
Start with the modules you need today, then turn on AI, automations, accounting, inventory, requests, and reporting as the operation grows.