Video tutorial 4 of 6
How to Send a Proposal and Get Paid in Workspace369
In Workspace369, you build a proposal from your product catalog and send it by email or text, and your client opens it from a link, with no account or password, to accept and sign it online. Click Convert to Invoice to bill them with nothing to retype, then send the invoice. If you've connected Stripe, your client can pay online by credit or debit card and the invoice is marked paid for you; for cash or check, you mark it paid yourself.
What you'll learn
- How to start a proposal, choose the client and add services from your product catalog
- How to offer an optional extra the client can choose to add
- How to pick a theme and require a signature
- What your client sees when they open the proposal link, and how they accept and sign
- How to convert an accepted proposal to an invoice and send it by email or text
- How online card payments through Stripe work, and how to mark an invoice as paid yourself
FAQ
Common questions
Does my client need an account to see a Workspace369 proposal?
No. Your client gets a link by email or text and opens the proposal without an account or a password. From there they click Accept proposal, sign, and confirm.
How do I turn an accepted proposal into an invoice?
Open the accepted proposal and click Convert to Invoice. The client, the services and the prices carry over, so there's nothing to retype.
How can my clients pay a Workspace369 invoice online?
If you've connected Stripe, your client can pay online by credit or debit card, and the invoice is marked as paid for you, automatically.
How do I record a cash or check payment?
Open the menu next to the invoice and choose Mark as Paid. Pick how the client paid, check the amount, and save the payment. The invoice then shows as Paid.
Can I add optional items to a proposal?
Yes. Add the item and mark it as optional. Your client sees a checkbox next to it and chooses whether to add it.
Full transcript
Welcome back. In this video, we'll go from a proposal to a paid invoice: build a proposal for Nina, send it, have her accept it, turn it into an invoice, and mark it as paid.
Let's start with a proposal. Under Finance, click Proposals. Here are all your proposals, and where each one stands. Click New Proposal, and start from a blank one. Your draft opens right away, and saves as you go. Click the title on the cover, and give it a name. Then choose who it's for. Search for Nina, and pick her. Her contact details fill in for you. Now add your services from your product catalog. Here's the Ceramic Coating Package, and an Interior Detail. You can offer extras, too. Add a Maintenance Wash, and mark it as optional, so Nina can decide. The tax and the total update as you go.
Then pick a look. In the Design tab, choose a theme. I'll go with Bold, and a charcoal accent. In the Settings tab, turn on Require signature, so Nina signs when she accepts.
When it's ready, click Send proposal. You can send it by email or text. Nina gets a link to the proposal. She doesn't need an account, or a password.
Here's what Nina sees when she opens the link: your proposal, with every service, and every price. The optional extra has a checkbox, so she can choose whether to add it. When she's ready, she clicks Accept proposal, signs, and confirms. Done. You get a notification as soon as she accepts.
Back in Workspace369, the proposal now shows as Accepted. To bill her, click Convert to Invoice. Everything carries over: the client, the services, and the prices, so there's nothing to retype.
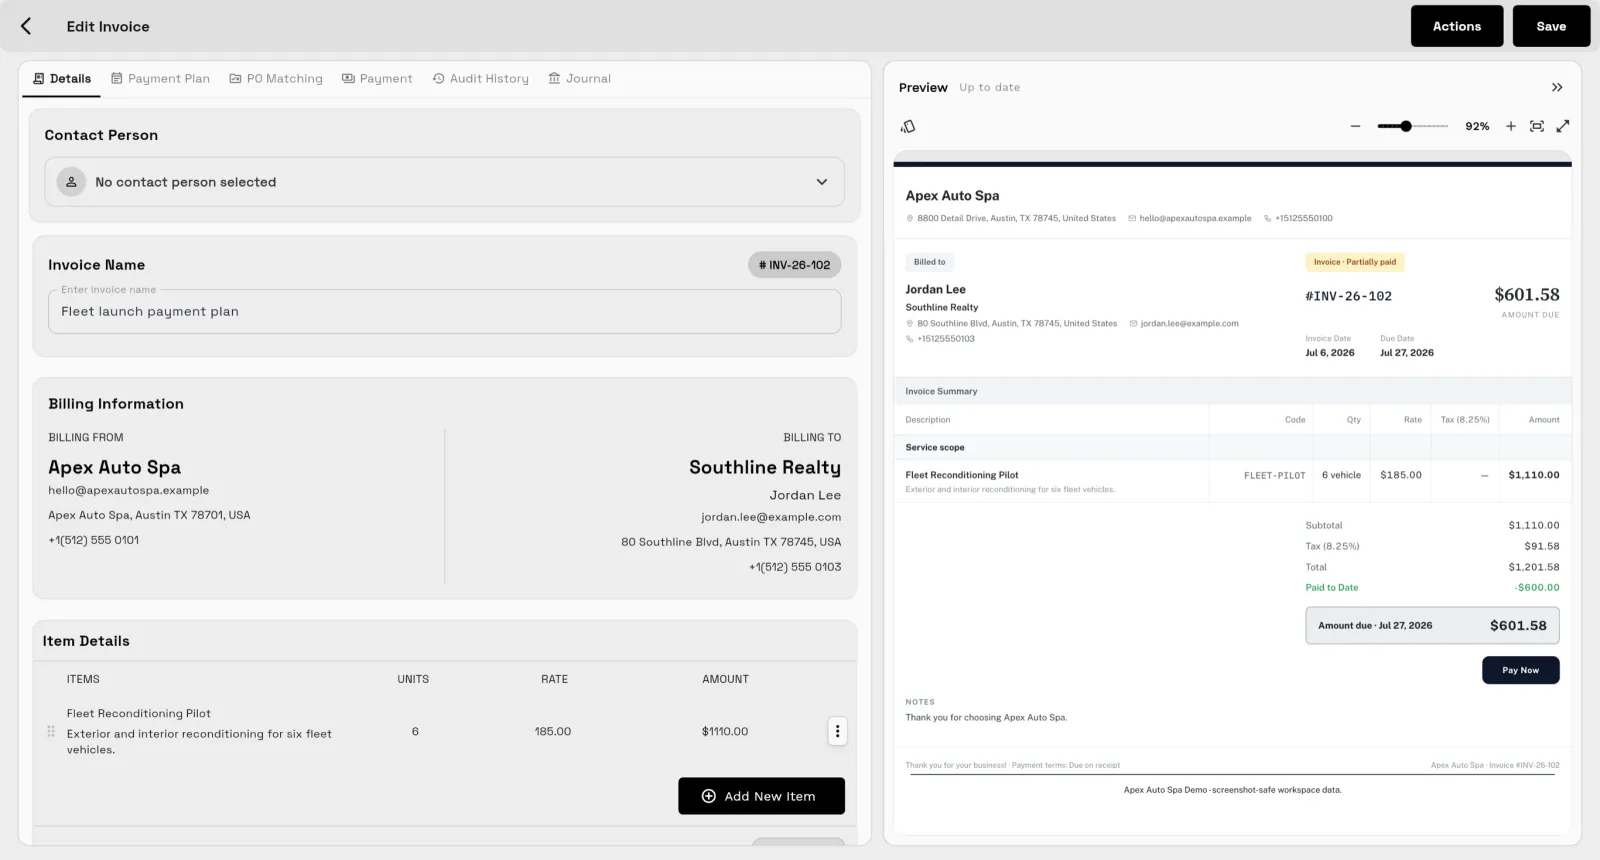
To send the invoice, open your Invoices list. Open the menu next to her invoice. You can send it by email or text. The email is written for you, with a link to view the invoice, and the PDF attached. Click Send Email, and it's on its way.
If you've connected Stripe, Nina can pay online by credit or debit card, and the invoice is marked as paid for you, automatically. If she pays by cash or check, mark it yourself. Open the menu next to her invoice, and choose Mark as Paid. Pick how she paid, check the amount, and save the payment. Her invoice now shows as Paid. And that's the whole journey, from proposal to paid. In the next video, we'll go deeper into proposals.
More tutorials
Ready when you are
See where Workspace369 fits into your client-work flow.
Start with the modules you need today, then turn on AI, automations, accounting, inventory, requests, and reporting as the operation grows.