Client onboarding automation: what to automate after a proposal is accepted (2026)
What to automate after a client accepts a proposal: the triggers, the actions worth building, and a one-time setup that runs your onboarding for you.

By Simon Dziak, Founder, Workspace369 · LinkedIn
The best onboarding feels personal and takes you almost no effort, because the repeatable parts already happened by the time you open your inbox. A client says yes, and a welcome note, a task, and a status change are already done.
This guide lists what is worth automating after a proposal is accepted, what is not, and how to set it up once. It is a companion to the best client onboarding software comparison and the client onboarding checklist for agencies, which cover tools and the full process. Here we focus on the automatable slice.
What's inside?
Quick answerWhat is worth automatingThe three triggers that matterThe actions availableThree starter workflowsHow to set it up onceWhat to put on your planWhere it shows up in the productMistakes to avoidA worked example: a branding projectHow to know it is workingFinal recommendation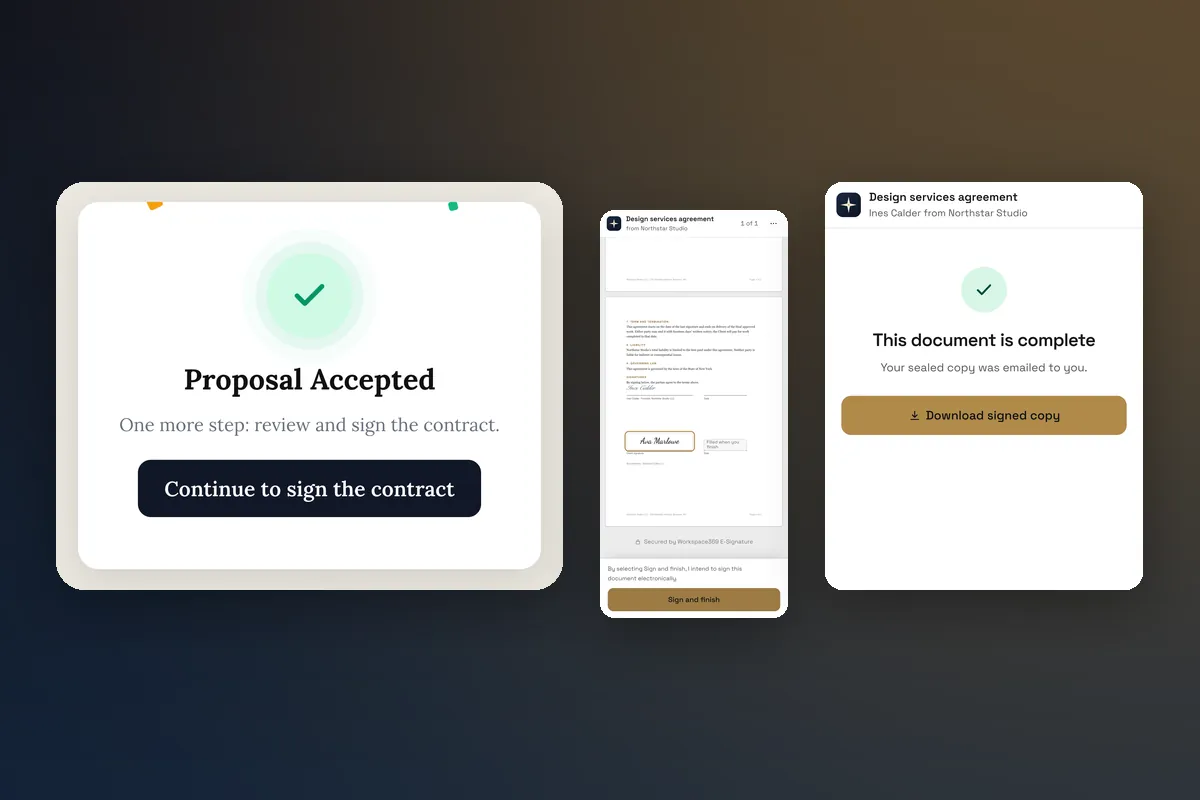
Quick answer
Build three workflows: one for proposal accepted, one for contract signed, one for payment received. Each sends a short, personal email, creates a task for you, and moves the client along a stage. Add the first invoice where it fits. You build them once, and they run every time the trigger happens. Anything that needs judgment, such as the kickoff agenda or the creative brief, stays on your own task list.
What is worth automating
Use a simple test: would you write the same message and do the same click every time? If yes, automate it.
| Moment | Automate | Keep human |
|---|---|---|
| Proposal accepted | Thank-you email, task "schedule kickoff", client moves to Active | Choosing the kickoff date |
| Contract signed | Confirmation, internal notification, first-steps email | Reading special clauses |
| Payment received | Receipt, "your start date is held" note | Resource planning |
| Before kickoff | Reminder with questionnaire link | The kickoff call itself |
The three triggers that matter
Workspace369 workflows can start on events across the client record. For onboarding, three are the core:
- Proposal accepted. The client said yes. This is your fastest chance to acknowledge it.
- Contract completed. Every signer finished. Safe to confirm the start process.
- Payment received. The deposit or invoice cleared. Safe to hold the start date.
A fourth, booking created, is relevant if you run a booking page for discovery calls or onboarding sessions.
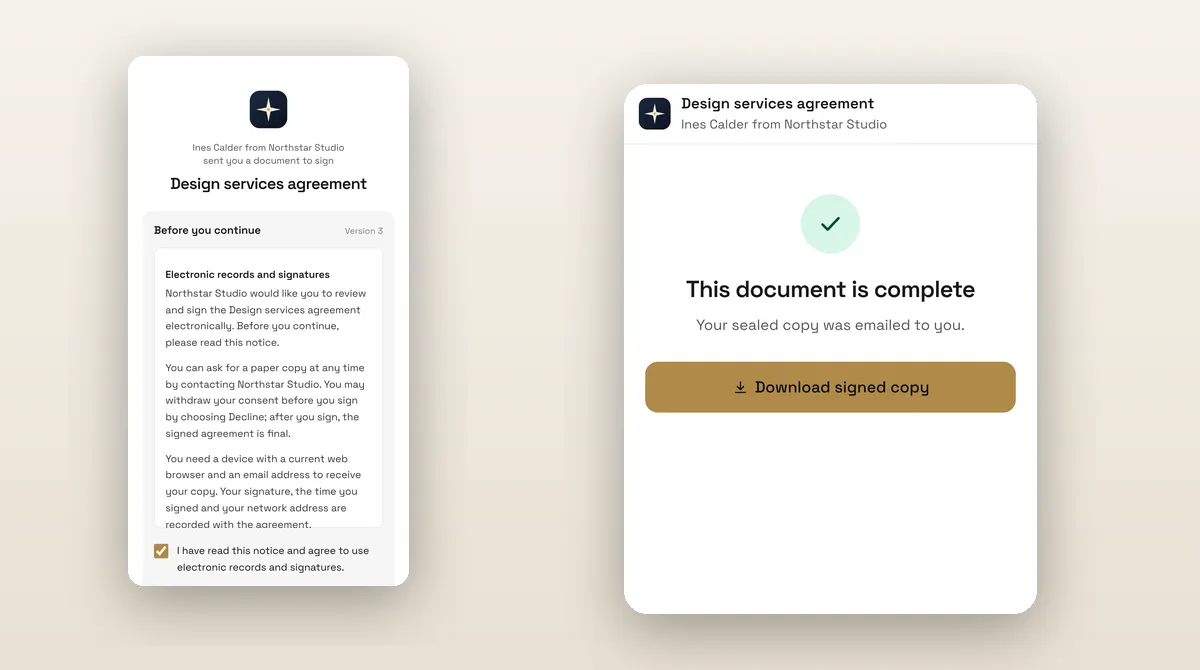
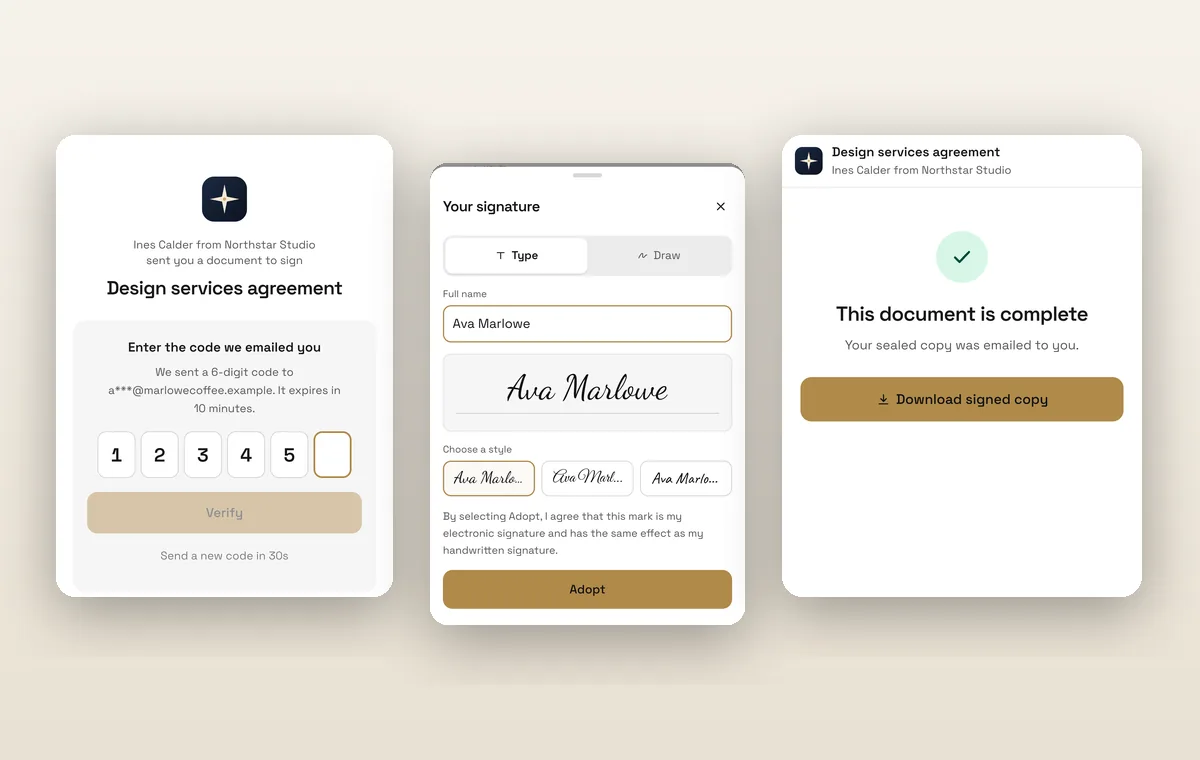
One built-in step to know: when a proposal has an attached contract, the contract is sent automatically on acceptance. That is not a workflow you build, and it saves a manual step.
The actions available
Inside a workflow you can chain steps. The ones that matter for onboarding:
- Send an email (all plans).
- Send an SMS (Voyager and up).
- Create a task, assigned to you or a teammate.
- Send an internal notification.
- Assign a teammate to the client.
- Move the client stage, for example from Lead to Active.
- Set a field or add a tag, such as "onboarding".
- Convert a proposal to an invoice and send an invoice.
- Send a contract and remind about an unsigned one.
What does not exist today: a step that creates a project, or one that invites the client to the portal. Plan those two by hand, or add them to your welcome email as instructions.
Three starter workflows
Workflow 1: Proposal accepted
- Trigger: proposal accepted.
- Actions: email the client, create a task "Schedule kickoff call" due in two days, move the client to Active.
Email copy:
Subject: You're in, First Name
Thanks for accepting the project proposal. Next, you will get the contract to sign, then I will send a few kickoff questions. I will reach out within one business day to pick a time for our kickoff.
Simon
Workflow 2: Contract signed
- Trigger: contract completed.
- Actions: internal notification to you, email the client with the questionnaire, add the tag "onboarding".
Workflow 3: Payment received
- Trigger: payment received.
- Actions: email the client "your start date is held", create a task "Order assets / book contractor", notify the assigned teammate.
If your first invoice follows the deposit, you can add a step that sends an invoice from the proposal. For wording, see the client onboarding questionnaire.
How to set it up once
You are the author, and the setup is a one-time job.
- Open workflows and start from a template, such as "Accepted proposal handoff" or "Contract signed thank-you". These are single thank-you emails, so treat them as a starting point.
- Rewrite the email in your own voice. Use the client name and project name.
- Add the task and the stage change.
- Run a test with a sample client before activating.
- Activate. Check the execution log after the first real acceptance.
Nothing runs until you activate it. That is the honest trade: a few minutes now, no manual work later.
What to put on your plan
Cadet ($29/month) includes email automations with up to three active workflows, which covers the three above exactly. Voyager ($74/month) adds SMS steps and up to ten active workflows. Specialist ($149/month) allows 25. Commander and Enterprise are unlimited and add AI-drafted workflows. Check pricing for the current matrix.
Where it shows up in the product
See workflow automation for triggers and actions in detail. The proposal that starts this chain is covered in proposals and quoting, and the client's later view is the client portal.
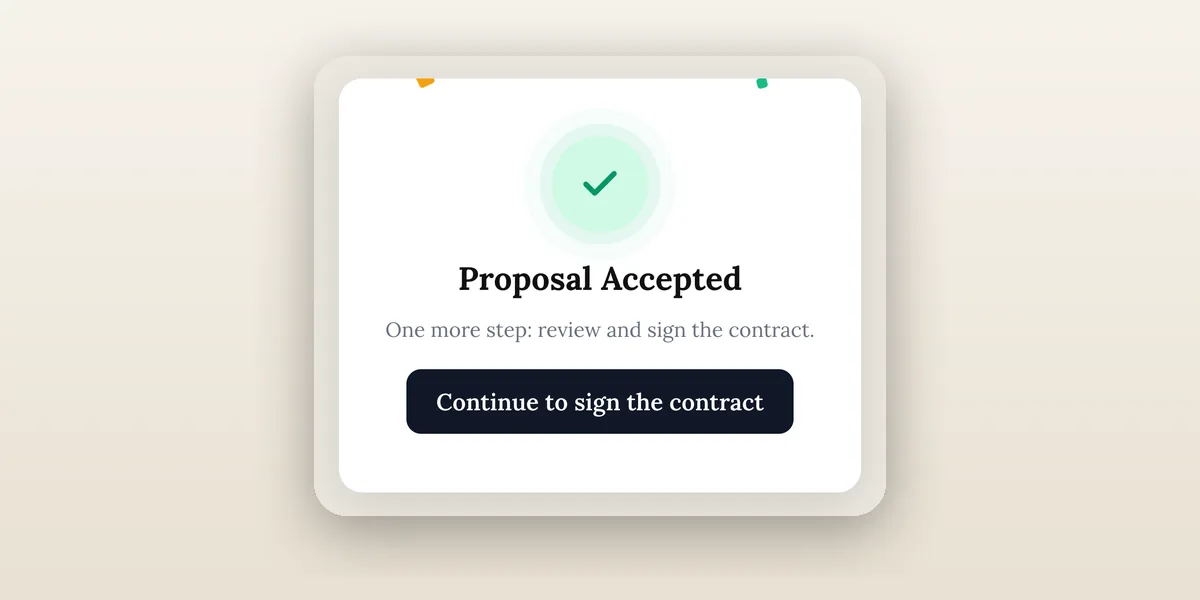
The accepted state above is what the client sees immediately after saying yes. Your acceptance workflow fires at that same moment, so the thank-you email arrives alongside the contract.
Mistakes to avoid
- Over-automating the first week. Three messages in a day feels like spam. Space them.
- Generic copy. If it could be sent by any company, rewrite it.
- Forgetting the human step. Every automated flow should end in a task assigned to a person.
- Assuming the portal is set up. Portal access is a separate opt-in for the client, so say so in the welcome email.
- No test. Run the workflow against yourself first.
A worked example: a branding project
Say you sell a $4,800 brand identity project with a 40 percent deposit and an attached contract. Here is what happens with the three workflows live:
- The client accepts the proposal and pays the $1,920 deposit. Workflow 1 sends the thank-you and creates your "Schedule kickoff" task. The contract goes out automatically.
- The client signs. Workflow 2 notifies you, sends the questionnaire link and tags the client "onboarding".
- Payment is recorded. Workflow 3 confirms the held start date and creates a task to collect brand assets.
You touched none of it. What you do on day one is read the questionnaire answers and run the kickoff call, which is the part the client is paying you for. The numbers are an illustration of how a project might be split, not a benchmark.
How to know it is working
Check three things after your first few clients. Did each trigger fire once, and only once? Did the email read like you wrote it? Did every task get done by a person within the time you set? The execution log shows what ran, so a missed or doubled step is visible instead of hidden. Adjust the copy before you add more workflows, and resist building a twelve-step sequence for a client you have not met yet.
Final recommendation
Start with the three workflows, make each end in a task for a human, and review the execution log after your first few clients. For the wider process around them, use the onboarding checklist and the onboarding software shortlist.
Put it into practice
Run client follow-up in one workspace.
CRM, inbox, voice, invoicing, payments, projects, files, AI, and workflow automations — connected instead of exported.
14-day free trial. Card required. After the trial: from $29/month. Renews automatically every month until you cancel. Cancel anytime in Settings → Billing.